February 15 2012
“Congratulations You Qualified For The Next Derby.”
Tagged Under : Bally Midway, Demo Derby, Demolition Derby
A lot of progress has happened on the Demolition Derby restoration since my first post from back in November. Some of the delay was due to the holiday and family commitments. Another delay was waiting on a couple of pieces of artwork to arrive. However, most of the delay was due to going through so many parts (cleaning, polishing, assembly, etc.). But trust me… The delay was well worth it!!!
Side Art Installation
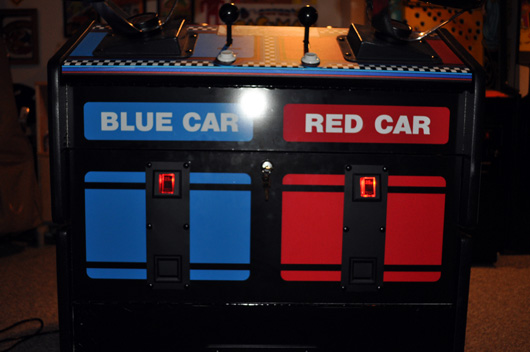
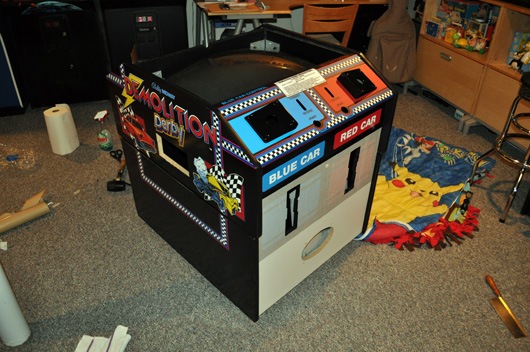
First things first… Finished installing all of the vinyl side art!
Control Panel Overlay Installation
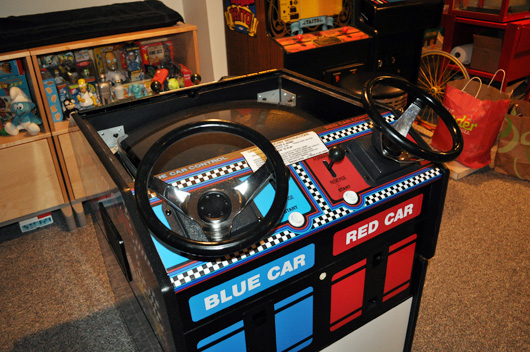
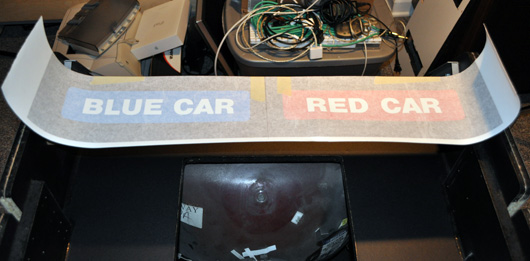
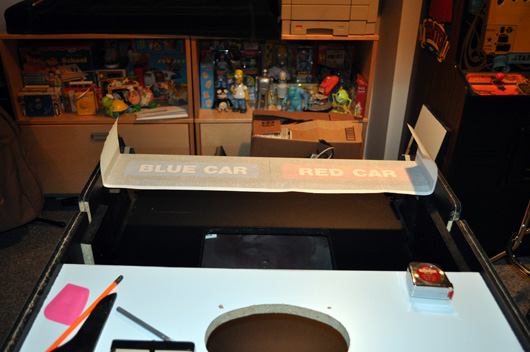
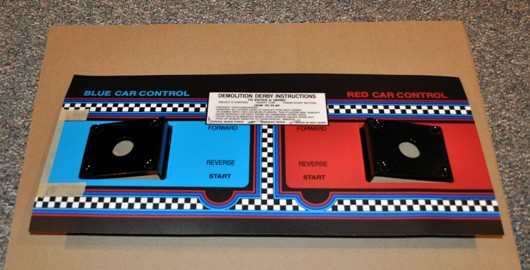
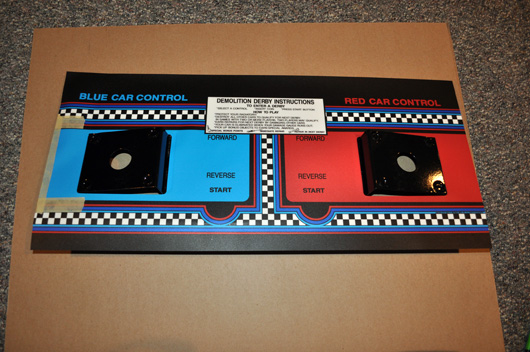
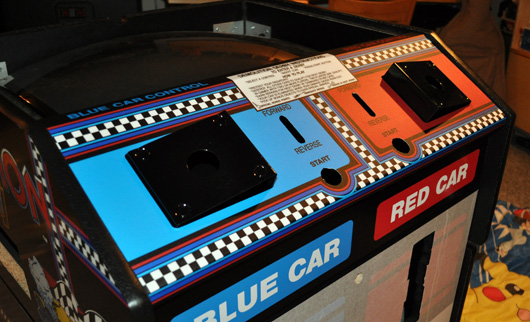
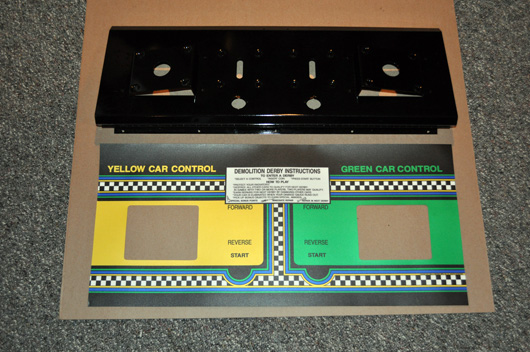
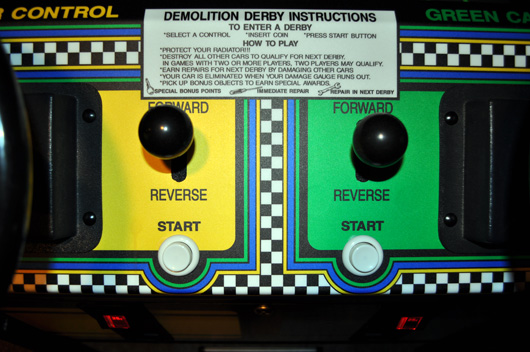
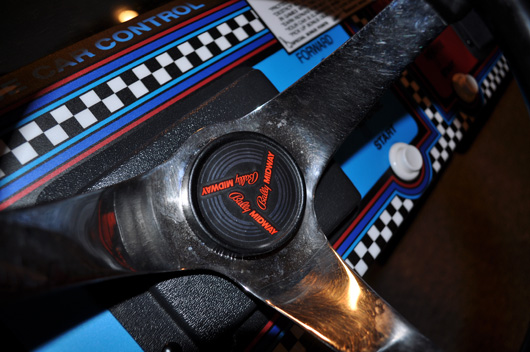
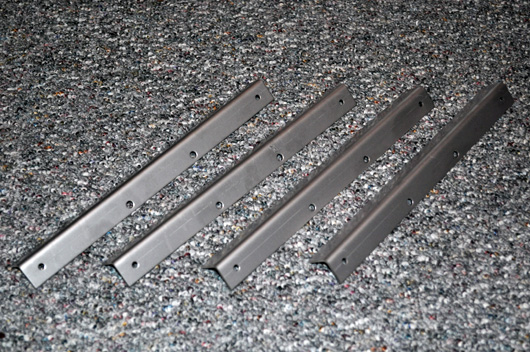
From there I installed the Control Panel Overlays (CPO’s). The CPO’s were color matched, reversed solvent printed on a textured polycarbonate with 3M adhesive on the back and the steering wheel brackets were die cut out for ease of installation.
They installed pretty much the same as any other CPO so I won’t bore you with tons of details.
Speaker and Ventilation Grill Installation
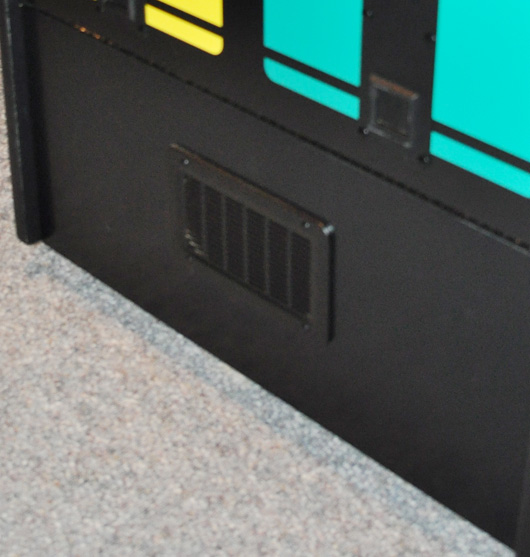
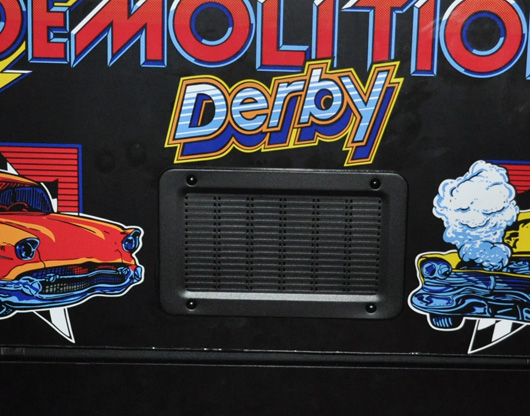
Nothing special about the speakers and the speaker grills on a Demolition Derby. The game uses two grills for the speakers (one for the red/blue side and one for the yellow/green side) and two grills for ventilation. The new 6×9 Speakers and speaker/Vent grills can be purchased from our friends at TwisterQuarters.com.
T-molding Installation
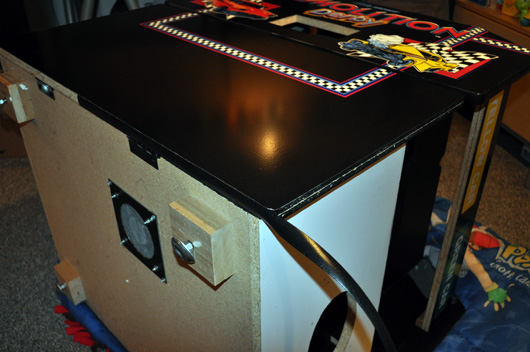
The Demolition Derby uses approximately 40 feet of 3/4″ black leather T-molding which can be purchased from several places such as GameMolding.com, T-Molding.com and several other online retailers.
Nothing super special about installing the t-molding. I mean, it installs in the routered t-molding slot just like any other game. But the sides of the cabinet are in two sections. One side is hinged so you can get to the inside of the cabinet. The other side is not hinged so getting the molding to install flat is a little tricky. But a plastic putty knife was a great solution to this problem.
Polishing Up Those Corroded Parts
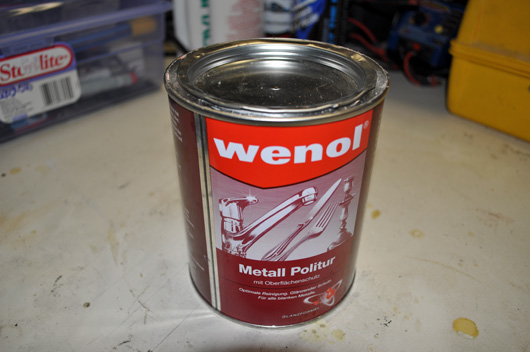
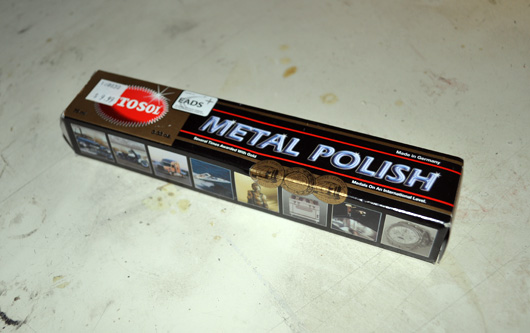
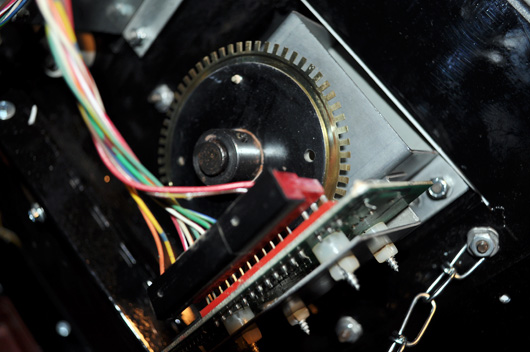
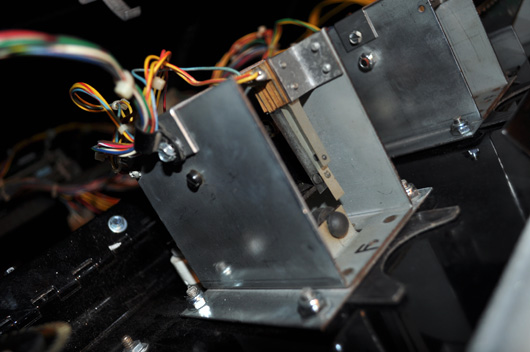
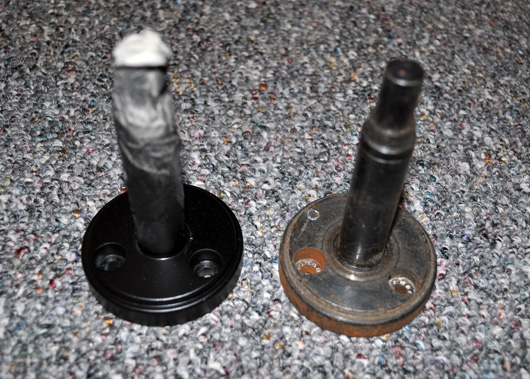
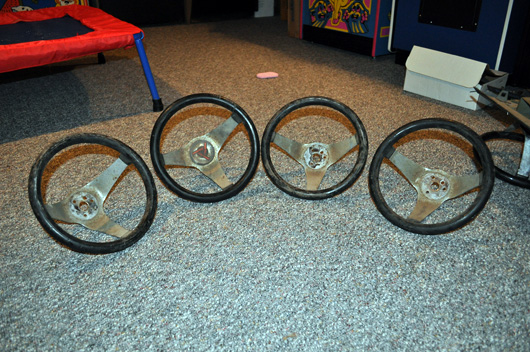
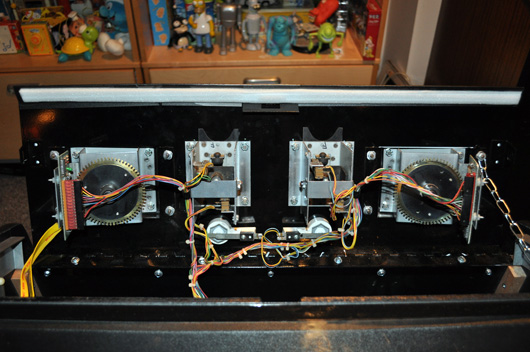
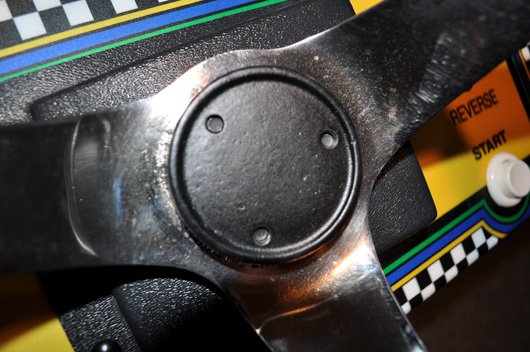
The most time consuming part of this restoration was cleaning and polishing all the metal brackets. For all the zinc oxide parts (two way shifter joystick assemblies, steering assemblies, brass opto wheels and opto board brackets) I used lots and lots of Wenol metal polish. For the chrome on the steering wheels I used a combination of Autosol Metal Polishing Compound and Wenol metal polish.
Control Panel Assembly
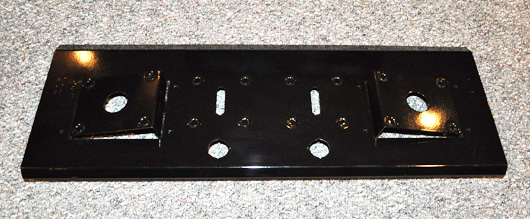
Lots of cleaning, polishing and assembling to the control panels. For the steering shafts I greased them up with Nyogel 779 lubricant which can be purchased from ArcadeFixit.com. But other than that not much to discuss other than it took many hours to reassemble!
Steering Wheel Decal Installation
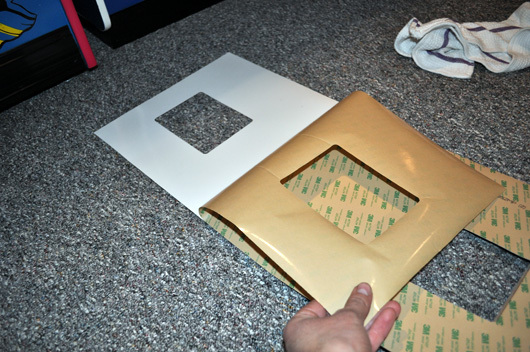
A nice little bonus that come with the CPO’s from This Old Game are four (4) new silk-screened reproduction wheel decals. Small details really makes the restoration look complete.
Coin Door Assembly
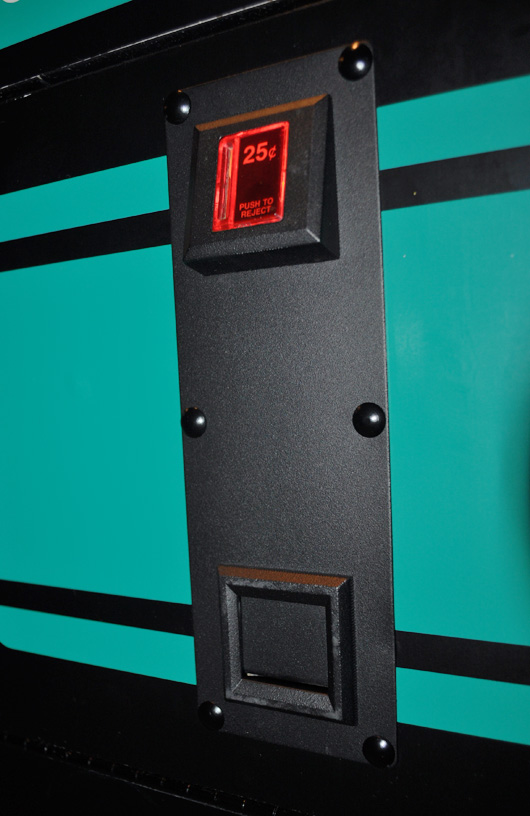
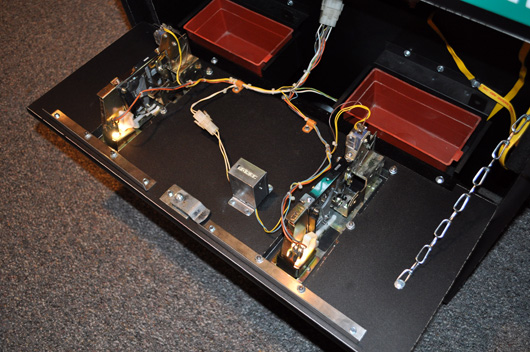
Like the Control Panels and the hinges the Coin Door brackets, bezels and coin buckets were all powder coated (but textured).
Plastic coin reject buttons were polished and cleaned with Novus 2 and 1.
Because most of the brass coin door parts were heavily corroded I managed to work out a trade with Steven from ArcadeFixIt.com for several NOS coin assembly parts. To complete the “like new” coin door assemblies I managed to make a trade with Preston Burt Game Room Junkies Podcast for four (4) new coin mechanisms from Happ Controls.
Plastic Bezel and Glass Bezel Installation
Unfortunately, the glass bezel is far from perfect. Lots of scratches on the glass and lots of fading on the art. Lucky for me, This Old Game has offered to reproduce these on glass for anyone who wants one one. In the meantime this one will do just fine.
This concludes part two of my Demolition Derby restoration. Stay tuned for part three in the next couple of days.
